Download and Run
What You'll Need
Configure a network that includes:
- A development system (to run Console)
- A provisioned or unprovisoned Intel® AMT device
What You'll Do
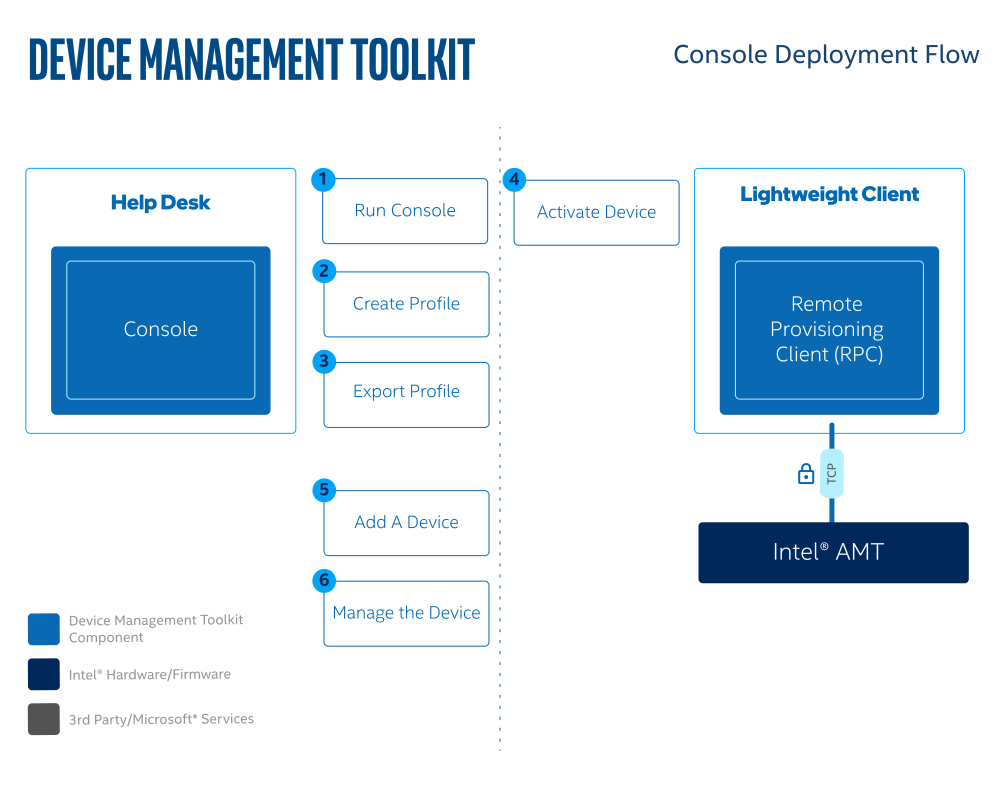
To complete a deployment:
- Download and run Console
- Create a CCM Profile or ACM Profile
- Export Profile
- Activate and configure an Intel® AMT device
- Add the device to the Console
- Manage the device using Console
Note - For devices that are already activated in ACM or CCM
If your Intel AMT device is already activated in CCM or ACM, you can skip steps 2, 3 and 4 after completing step 1 and proceed directly to Add a device to Console.
Download
-
Find the latest release of Console under Github Releases.
-
Download the appropriate binary assets for your OS and Architecture under the Assets dropdown section.
Note - Warnings when Downloading from Github
If downloading Console on Windows, a warning may appear and require approval to continue the download.
Configuration
-
Run the executable, and a terminal will open containing the Console process.

Figure 2: Console Start -
Type Y in the terminal and press Enter to store the Database Key in the Operating Systems Credentials Manager.
Note - Encryption Key Information
Console automatically stores this 32-character key in Operating System's credential manager, such as Windows Credential Manager, under the name device-management-toolkit. This key is used to encrypt sensitive data before it is stored in the database.
-
The executable automatically generates a
config.ymlfile in the/configdirectory, relative to where the executable is run. If no password is provided, Console generates a random value foradminPasswordand stores it inconfig.yml. Before logging in, openconfig.ymland note the values foradminUsernameandadminPassword. To set your own credentials, update these fields in the file.app: name: console repo: device-management-toolkit/console version: DEVELOPMENT common_name: "" encryption_key: "" allow_insecure_ciphers: false disable_cira: true http: host: "" port: "8181" allowed_origins: - "*" allowed_headers: - "*" ws_compression: true tls: enabled: true certFile: "" keyFile: "" logger: log_level: info secrets: address: http://localhost:8200 token: "" path: secret/data/console postgres: provider: sqlite pool_max: 2 url: "" ea: url: http://localhost:8000 username: "" password: "" auth: disabled: false adminUsername: standalone adminPassword: <randomly-generated-password> jwtKey: your_secret_jwt_key jwtExpiration: 24h0m0s redirectionJWTExpiration: 5m0s clientId: "" issuer: "" tlsSkipVerify: false ui: clientId: "" issuer: "" redirectUri: "" scope: "" responseType: "" requireHttps: false strictDiscoveryDocumentValidation: true ui: externalUrl: ""
Important
The generated credentials are for initial access and testing only. You should set your own strong credentials for adminUsername and adminPassword as soon as possible. For production deployments we recommend using an OAUTH provider (Auth0, Azure Entra AD, etc..) and configuring Console to use that instead.
Run
-
Close the terminal if Console is already running, then rerun the executable for the configuration changes to take effect.
-
Console is now successfully running! A browser window will open running
http://localhost:8181where you can access the Console UI and start adding devices.Success
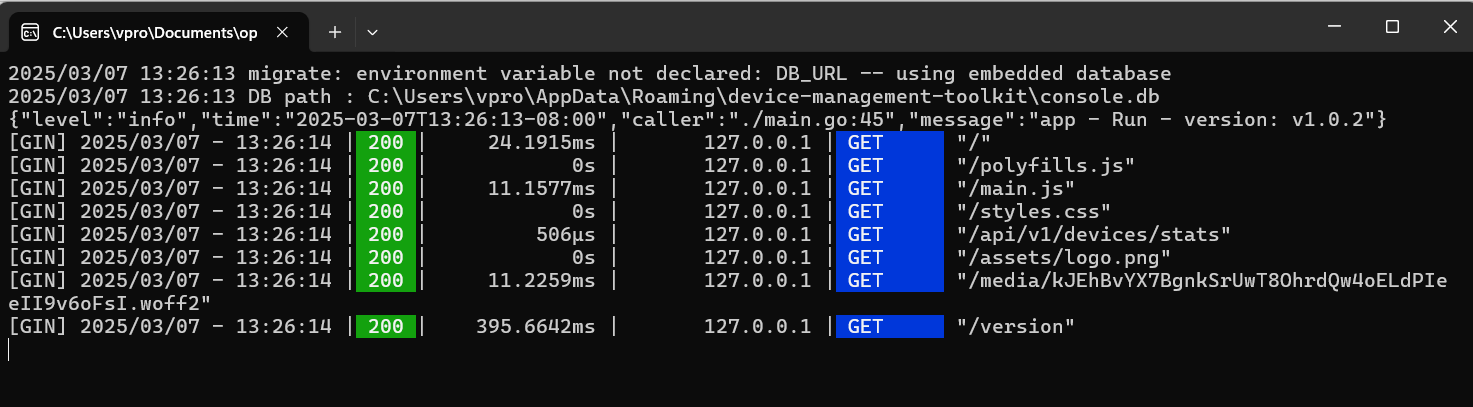
Figure 3: Console Process Startup
Login
-
Log in to Console using the credentials currently set in
config.yml(adminUsernameandadminPassword).Example
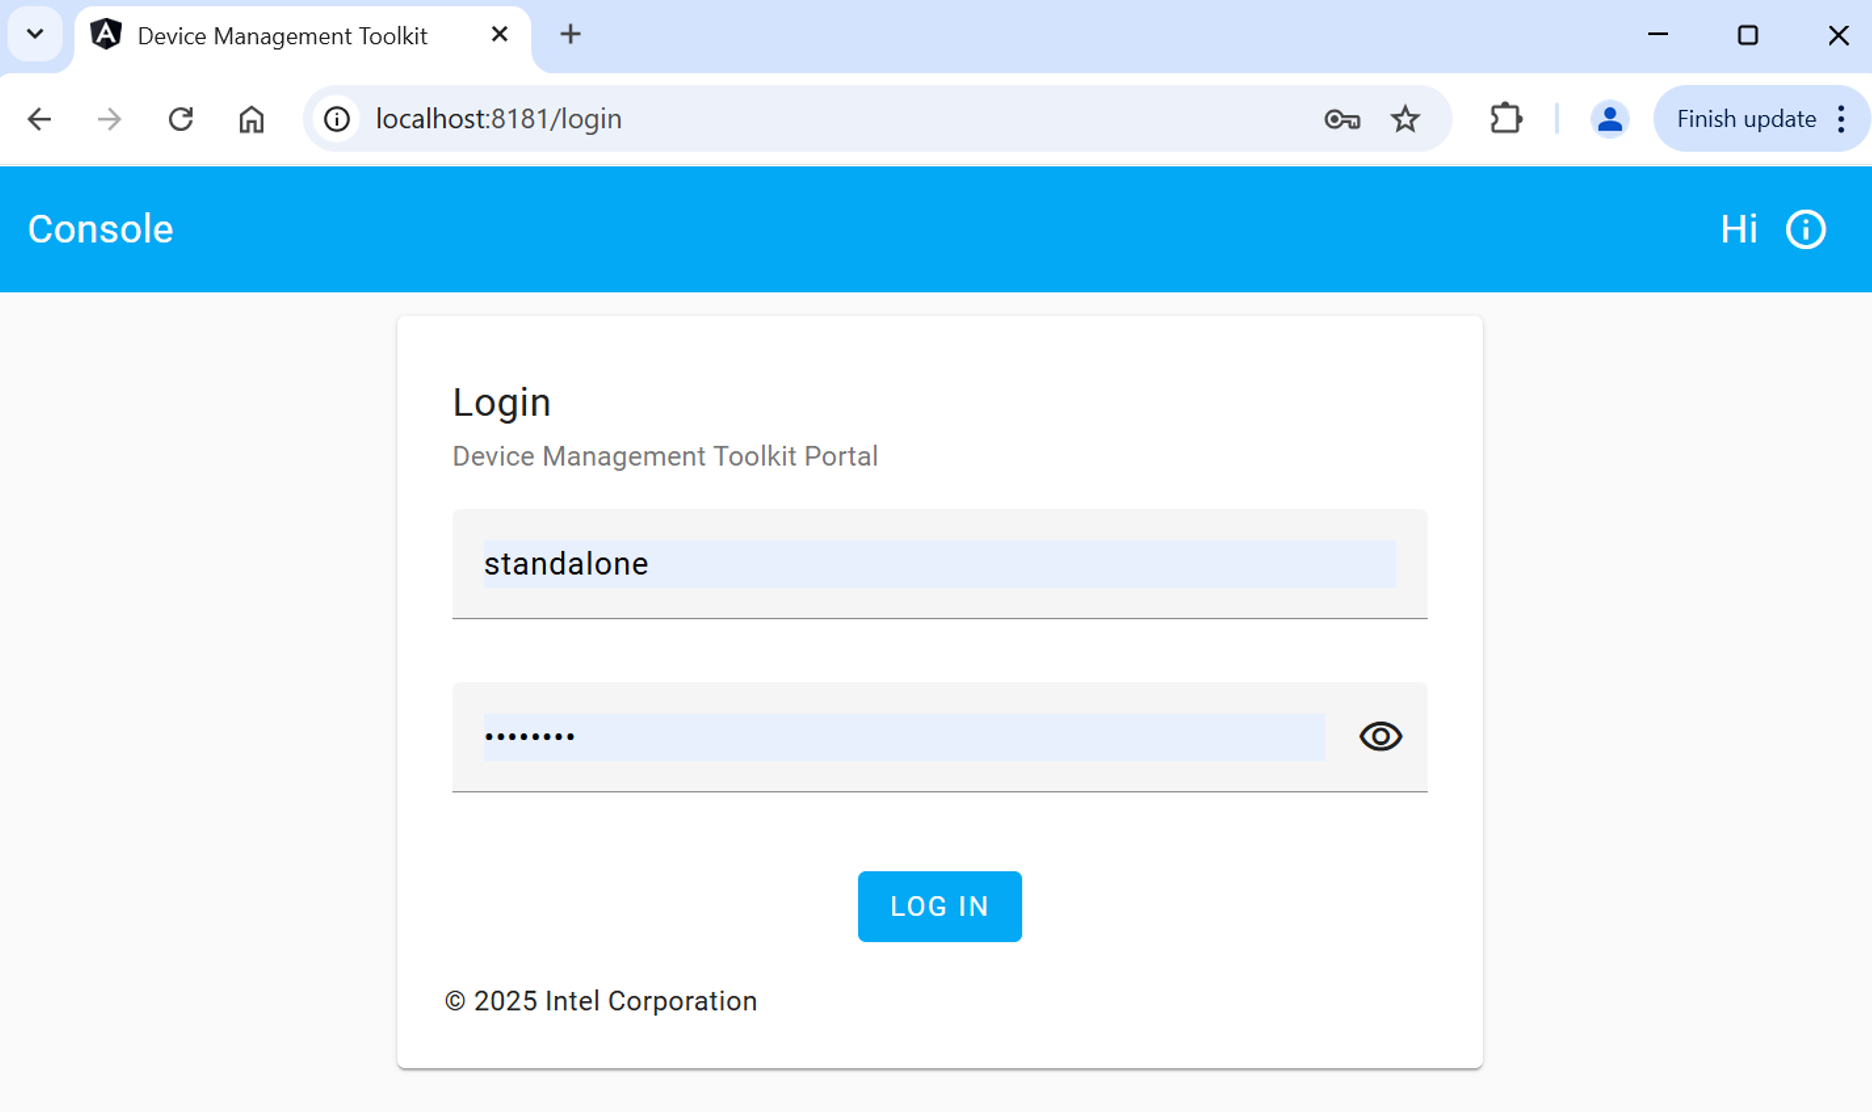
Figure 4: Console UI Startup
Next up
Profiles provide configuration information to the AMT Firmware during the activation process with the Remote Provisioning Client (RPC). Profiles also distinguish between activating in:
Client Control Mode (CCM): This mode offers all manageability features including, but not limited to, power control, audit logs, and hardware info. Redirection features, such as KVM or SOL, require user consent. The managed device will display a 6-digit code that must be entered by the remote admin to access the remote device via redirection.
Admin Control Mode (ACM): ACM mode supports all manageability features without requiring user consent. This means it is not necessary to have a person on-site to remote in and manage an edge device. In most IoT use cases, edge devices such as digital signage or kiosks may not be easily accessible or have available employees nearby. ACM mode proves immensely helpful in these scenarios.